
Your Step-by-Step Industrial Solar System Installation Guide
To make the most out of this investment, it’s vital to follow a structured industrial solar system installation guide that ensures smooth setup, compliance, and long-term energy efficiency.
 Switching to solar energy is a powerful move for industries seeking to cut operational costs and embrace clean energy solutions. To make the most out of this investment, it’s vital to follow a structured industrial solar system installation guide that ensures smooth setup, compliance, and long-term energy efficiency.
🔍 Step 1: Conduct a Site Assessment
The journey begins with a comprehensive evaluation of the site. This step is crucial to understanding the potential and limitations of the location:
- Check Solar Exposure: Measure how much direct sunlight the site receives throughout the year.
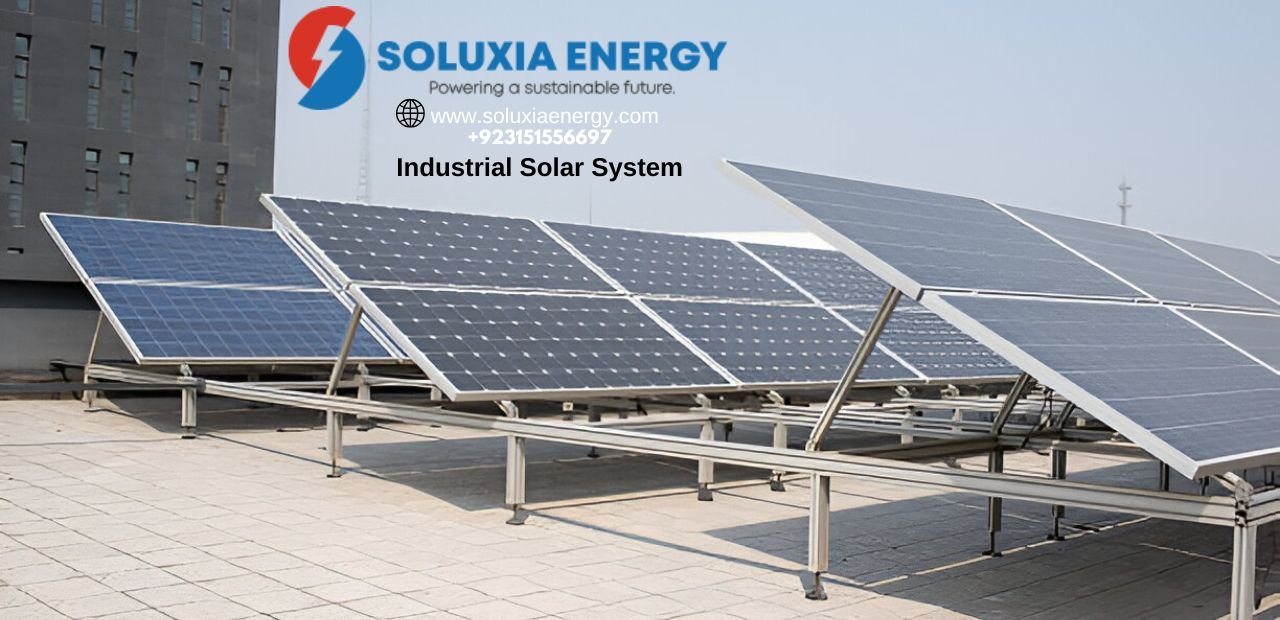
- Inspect Roof or Ground Area: Evaluate whether your facility’s roof or ground space can support the required panel installation.
- Analyze Surroundings: Identify possible obstructions like trees or nearby buildings that could cause shading.
A professional solar engineer can help you map out the best solar layout based on your property’s physical and environmental conditions.
📐 Step 2: Design the System
Once your site is approved, the next step is to design a solar system tailored to your energy consumption:
- Review Past Electricity Bills: Determine your monthly and annual energy usage to size the system accordingly.
- Select Components: Choose high-quality solar panels, inverters, mounting structures, and batteries if needed.
- Plan Layout: Create a panel layout that maximizes exposure and output without compromising your building’s structure.
Proper system design ensures optimal performance and long-term reliability.
📝 Step 3: Secure Permits & Approvals
Navigating regulations is essential in industrial solar installations. Before starting any work:
- Apply for Local Permits: Obtain necessary construction and electrical permits from your city or region.
- Get Utility Approval: Coordinate with your power provider to get approval for grid-tied solar systems.
- Ensure Code Compliance: Make sure your system design complies with national and local electrical standards.
Permit delays can slow down the process, so begin this step early.
🛠️ Step 4: Begin Installation
With permits in hand, installation begins:
- Install Mounting System: Secure the structure that will hold the panels—roof or ground mounts.
- Place Solar Panels: Position the panels for maximum sun exposure based on your custom layout.
- Connect Electrical Components: Link the panels to inverters and then integrate them into your facility’s electrical grid.
Professional installers should handle this step to ensure safety and efficiency.
✅ Step 5: System Testing & Commissioning
After installation, it’s time to test and activate your system:
- Test Components: Run diagnostics to ensure each panel and connection works as expected.
- Activate Grid Connection: Once tested, your system will be officially linked to the local utility grid.
- Monitor Performance: Set up digital tools to track energy output and detect any irregularities.
Proper commissioning guarantees your system is fully operational and delivering expected results.
🔧 Step 6: Maintenance & Support
Ongoing care is necessary to keep your solar system running smoothly:
- Regular Inspections: Schedule checks for wear, tear, or malfunctions.
- Panel Cleaning: Ensure dirt and debris don’t block sunlight from reaching the panels.
- Software Updates: Keep system firmware and monitoring software up to date.
Maintenance maximizes system lifespan and return on investment.
🌞 Final Thoughts
Installing an industrial solar system is a strategic investment that delivers cost savings, energy independence, and environmental benefits. By following this industrial solar system installation guide, your business can make a seamless transition to clean, renewable power with confidence.