
Ventilation Tips When Adding New Attic Insulation
Adding new insulation is one of the best home improvements you can make, but its success depends on getting the ventilation right.
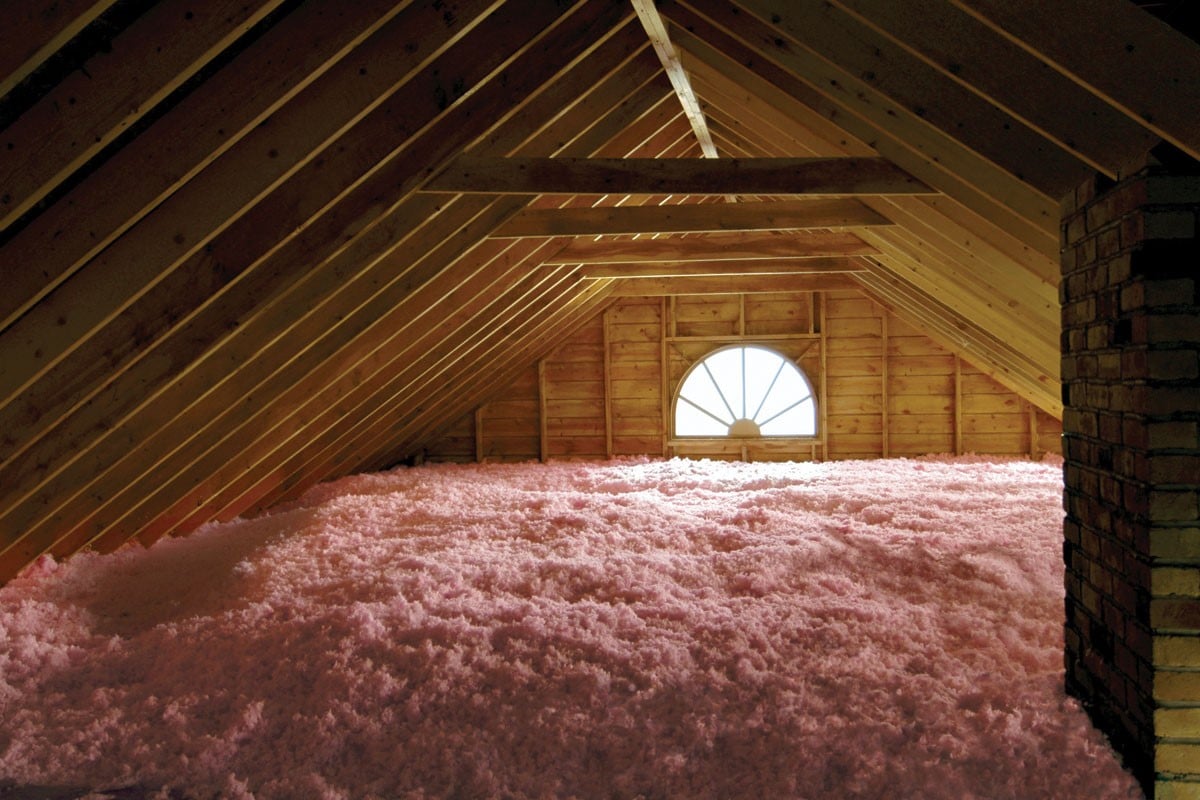
When adding new attic insulation like blown-in fiberglass or cellulose, the most important ventilation step is to ensure there is a clear, unobstructed path for air to flow from the soffit vents up to the exhaust vents at the roof's peak. This is typically done by installing baffles or rafter vents. Blocking this airflow is a common mistake that traps heat in the summer and moisture in the winter, which can lead to roof damage, mold growth, and higher energy bills, undermining the very purpose of the new insulation.
Properly managing ventilation isn't just a suggestion; it's a critical part of a successful insulation project. Insulation and ventilation work together as a system to keep your home comfortable and efficient. This guide, based on practical experience from building science experts, provides essential tips to ensure your new insulation and your attic ventilation work in harmony, not against each other. For the best results, consider hiring a professional attic insulation contractor who understands how to balance air flow, moisture control, and energy efficiency for lasting comfort and protection.
Why Insulation and Ventilation Are a Team
Many homeowners think of insulation and ventilation as separate things, but in a traditional attic, they are two halves of a whole. Each has a distinct job that supports the other.
- Insulation's Job: To slow the transfer of heat between your conditioned living space and the unconditioned attic. In the summer, it keeps attic heat out of your home. In the winter, it keeps your home's heat in.
- Ventilation's Job: To keep the attic space as close to the outside temperature and humidity as possible. It does this by constantly moving air through space.
In the summer, a well-ventilated attic allows the sun's radiant heat, which can raise attic temperatures to 150°F or more, to escape. This reduces the heat load on the insulation and, in turn, on your air conditioning system. In the winter, ventilation removes warm, moist air that escapes from the living areas below. If this moisture is trapped, it can condense on the cold underside of the roof sheathing, leading to frost, mold, and wood rot.
Essential Ventilation Steps to Take Before Insulating
Before a single bag of new insulation is opened, a few key steps can ensure the project's success. Neglecting these preparations can lead to problems down the road.
Inspect Your Existing Ventilation System
First, identify what kind of ventilation system your home has. Most homes use a passive system.
- Intake Vents: Look for vents along the bottom edge of your roof, in the soffit or eaves. These are where fresh air enters the attic.
- Exhaust Vents: Look for vents at or near the peak of the roof. These can be ridge vents (running along the entire peak), gable vents (on the walls at the ends of the attic), or box-style roof vents.
Check to make sure these vents are not blocked by old insulation, bird nests, or layers of paint. A balanced system, with roughly equal amounts of intake and exhaust vent area, is the goal.
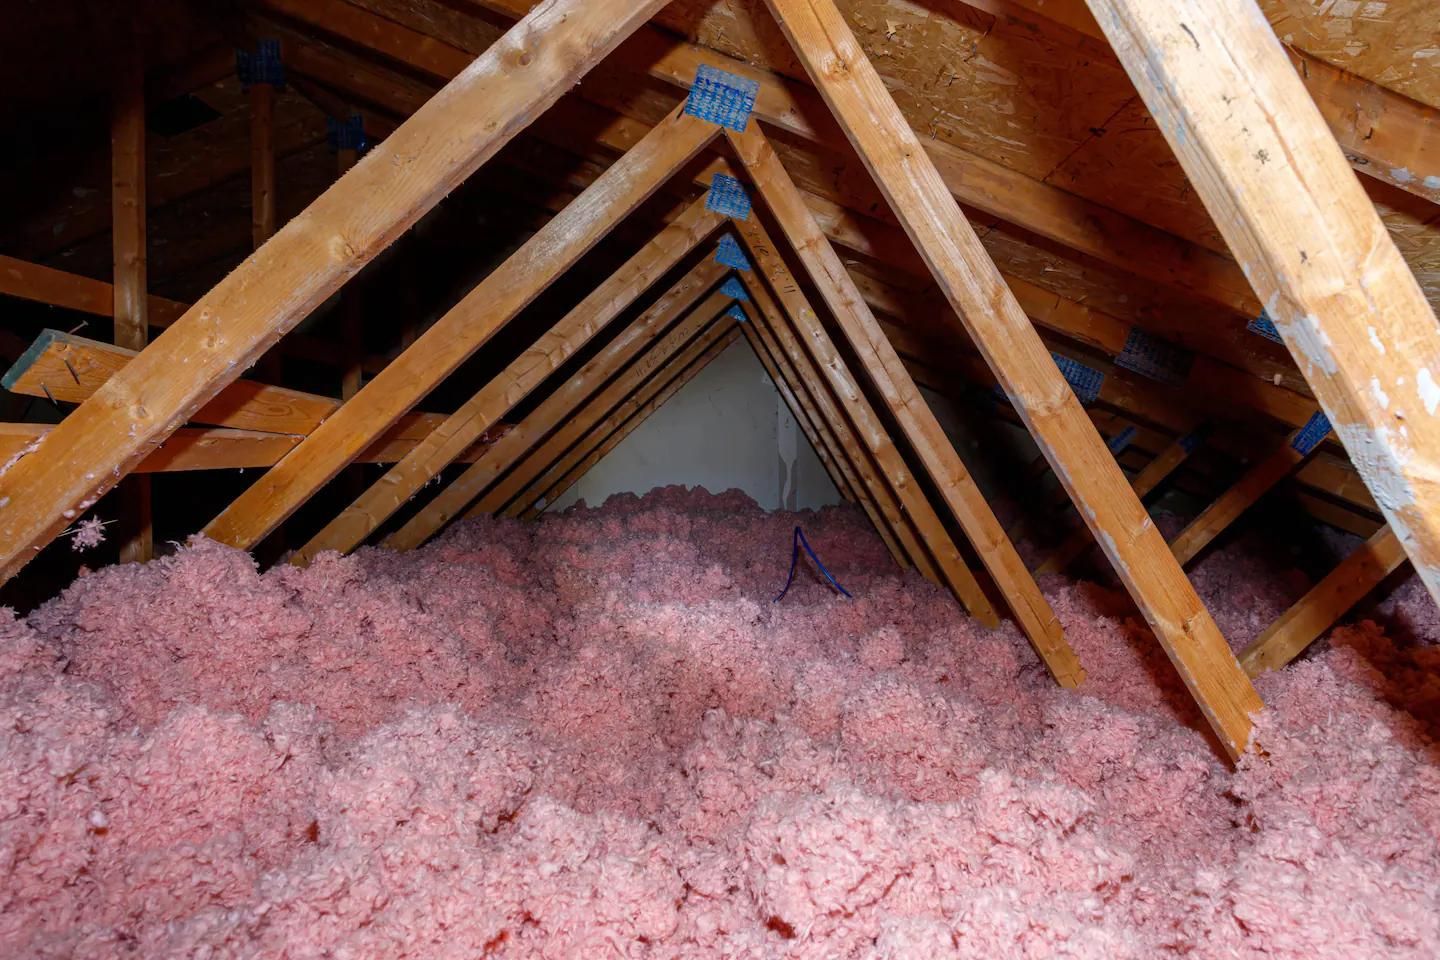
Install Baffles to Protect Airflow
This is the most critical step. Baffles, also known as rafter vents, are typically made of cardboard or plastic and create a channel between the rafters. They are installed against the underside of the roof deck, creating a clear path for air to flow from the soffit vents up into the attic. This prevents the new, deep layer of blown-in insulation from covering the intake vents and cutting off the attic's air supply.
Bonus Tip: When installing baffles, make sure they extend several inches above the final intended height of the new insulation. This prevents loose-fill insulation from drifting over the top of the baffle and blocking the airflow over time.
Air Seal the Attic Floor
Before adding insulation, it's crucial to seal all the air leaks between the living space and the attic floor. This is the single most effective way to stop the movement of conditioned air (and moisture) into the attic. Common leakage points include:
- Around plumbing pipes and electrical wires
- Above recessed light fixtures (unless they are IC-rated)
- Around the chimney chase
- The attic access hatch or pull-down stairs
Use high-quality caulk for small gaps and expanding spray foam for larger openings. Air sealing reduces the burden on your ventilation system and makes your insulation perform much better.
How Insulation Choice Affects Ventilation Strategy
The type of insulation you install will determine the right ventilation approach. A traditional vented attic is not the only option.
Comparing Ventilation Needs for Different Insulation
| Insulation Type | Ventilation Approach | Key Consideration |
|---|---|---|
| Blown-In Fiberglass/Cellulose | Vented Attic | Baffles are essential to prevent blocking soffit vents. |
| Fiberglass Batts | Vented Attic | Must be cut to fit, not compressed, and kept clear of vents. |
| Spray Foam on Roof Deck | Unvented Attic | All existing attic vents must be completely sealed off. |
This table shows a fundamental difference in strategy. Traditional materials like fiberglass and cellulose require a vented attic to manage heat and moisture, making baffles a non-negotiable component. In contrast, spray foam insulation can be used to create an unvented, or conditioned, attic space.
With this method, spray foam is applied directly to the underside of the roof deck, not the attic floor. This makes the attic part of the home's conditioned envelope. Because the insulation is now at the roofline, there is no need to ventilate the space between the insulation and the outside. In fact, all vents must be sealed shut to make this system work. This approach is very effective at controlling attic temperatures but must be done by a professional who understands the building science involved.

Critical Checks for a Healthy Attic System
A few final checks can help ensure your attic system functions properly for years to come.
Venting Bathroom and Kitchen Fans
This is a non-negotiable rule: all exhaust fans from bathrooms, kitchens, and laundry rooms must be vented directly to the outside of the home. They should never terminate in the attic. Venting a fan into the attic pumps large amounts of warm, moist air into the space, which is the primary cause of many attic mold and moisture problems.
Check for Adequate Vent Area
Building codes generally require a minimum of 1 square foot of net free vent area (NFVA) for every 300 square feet of attic floor space. This should be balanced evenly between intake and exhaust. A qualified insulation contractor can assess your current ventilation to see if it’s adequate or if additional vents are needed.
Bonus Tip: Be careful with powered attic ventilators (attic fans). If the attic is not perfectly air-sealed from the rest of the house, these powerful fans can create negative pressure and actually pull conditioned air from your living space up into the attic, wasting energy. A well-balanced passive ventilation system is often more effective.
Questions People Ask About Attic Venting and Insulation
Here are some answers to common questions about this important relationship.
Can I just add more insulation without worrying about the vents?
No, this is a bad idea. Piling on more insulation without protecting the ventilation pathways will likely lead to moisture problems in the winter and an overheated attic in the summer. It can also cause premature aging of your roof shingles.
What happens if I accidentally block my soffit vents?
Blocking your intake vents cuts off the airflow. In the summer, this traps super-heated air in the attic, which radiates down into your home and makes your AC work harder. In the winter, it traps moisture, which can lead to condensation, mold, and rot.
My house has no roof overhangs or soffits. How do I add intake vents?
There are solutions for homes without soffits. Products like vented drip edges or specialty vents that can be installed directly into the roof deck near the eaves can provide the necessary intake airflow.
Does an unvented attic with spray foam work in a hot, humid climate?
Yes, it is an extremely effective strategy for hot climates. By insulating the roof deck, you prevent the attic from ever getting hot in the first place. This dramatically reduces the heat gain into the home and can significantly lower cooling costs.
Are more vents always better?
Not necessarily. The key is a balanced system. Having too much exhaust ventilation without enough intake can make the system ineffective and can even cause weather infiltration in high winds. The goal is smooth, continuous airflow.
The Right Approach for a Healthy Attic
Adding new insulation is one of the best home improvements you can make, but its success depends on getting the ventilation right. For traditional insulation, this means preserving a clear path for air to move from soffit to ridge. For spray foam on the roof deck, it means creating a completely sealed, unvented space. In either case, paying attention to the details of air movement will ensure your investment results in a more comfortable, energy-efficient, and durable home.
Need Help with Your Attic Project?
Balancing the needs of insulation and ventilation requires a good understanding of how home performance systems work together. If you are unsure about your attic's ventilation needs or how to proceed with an insulation upgrade, it's a good idea to consult with a professional. The experts at Makeover Insulation can assess your attic's current condition and recommend a complete solution that addresses both insulation and ventilation. To schedule an evaluation, you can contact their team at sales@makeoverinsulation.com or (470) 664-5300.
Reviewer: Ava Clark shared her input based on 6 years of working with spray foam insulation teams. Her focus on customer trust and communication helped shape key parts of this post.