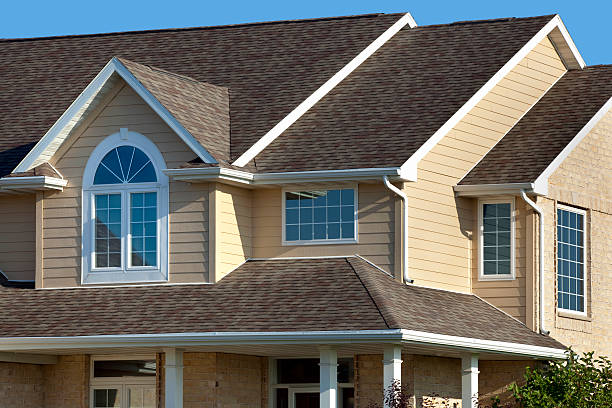
How to Install Asphalt Shingles: Tips for Melrose Homeowners
Learn expert tips for asphalt shingle roof installation in Melrose. From preparation to final inspection, discover how to install asphalt shingles for lasting durability and curb appeal.

Asphalt shingles remain one of the most popular roofing materials for homeowners in Melrose due to their durability, affordability, and attractive finish. If you are considering asphalt shingle roof installation, understanding the process can help ensure a long-lasting and weather-resistant result. Whether you're planning a DIY project or simply want to be informed before hiring a contractor, here's a practical guide to help you navigate the process.
Prepare the Roof Surface
Before starting the installation, it's important to have a clean, smooth, and sturdy roof deck. Remove any old roofing materials, nails, or debris, and check the decking for signs of rot or damage. Repair or replace any compromised sections to create a strong foundation. Installing a layer of roofing underlayment, such as felt paper or synthetic material, adds extra protection against moisture and improves shingle performance.
Install Drip Edge and Starter Strip
The drip edge is a thin strip of metal that goes along the eaves and rakes of the roof. It prevents water from seeping under the shingles and protects the roof deck. Once the drip edge is in place, install a starter strip at the lower edge of the roof. This strip helps align the first row of shingles and prevents wind from lifting them. Ensuring accurate alignment at this stage sets the tone for the rest of the project.
Lay the Shingles Correctly
Begin at the bottom edge of the roof and work upward, overlapping each row as you go. This overlapping design is essential to shedding water effectively. Asphalt shingles typically have a self-sealing strip that bonds with the layer below when warmed by the sun, improving wind resistance. Always follow the manufacturer's recommended nail placement to ensure each shingle is securely fastened.
For the best results, use four to six nails per shingle, depending on local wind conditions. Drive nails straight and flush with the shingle surface, overdriving can damage the material, while underdriving can leave it loose.
Cut and Fit Around Roof Features
When installing shingles around chimneys, vents, skylights, or valleys, precision is key. Flashing should be installed in these areas to create a watertight seal. Step flashing is common for chimneys and sidewalls, while valley flashing is used for roof valleys where two slopes meet. Use a utility knife to cut shingles to size, ensuring a snug fit without forcing them into place.
Cap the Ridge for a Finished Look
Once you reach the peak of the roof, it's time to install ridge cap shingles. These are designed to cover and protect the roof's highest point while allowing for ventilation. Overlap each piece and secure them carefully to prevent wind damage. The ridge cap not only completes the look of your roof but also helps extend its lifespan.
Final Inspection and Maintenance
After installation, inspect the roof to ensure all shingles are properly aligned, nailed, and sealed. Check flashing and drip edges for secure placement. Over time, keep gutters clean, trim overhanging branches, and schedule periodic inspections to maintain the roof's integrity.
Installing asphalt shingles requires attention to detail, proper tools, and a clear understanding of each step. For Melrose homeowners, mastering these tips or hiring a skilled professional can ensure your asphalt shingle roof installation stands the test of time, protecting your home from the elements while enhancing curb appeal.